

Intermediate Blending Techniques
As you saw in my Basic Blending Techniques, One of the best features of masks is that they are layers. What does this mean? It means that like in any layer you can use any tool on them, and most of the filters. Why is this important? Well let me show you. I am not going to go over every step to making the wall, or the techniques. I am assuming that you have at least a basic level of understanding of photoshop tools.
There are the major steps I used to create this wall.
Source Pictures if you want to follow along. Credit to Mike for the Xena and FiN pictures. Main Shot of them Both, Gabrielle, Xena(unfortunatly I can't find where I originally got this scan, if its yours please contact me for credit)
1)Now, I have 3 pictures here that I want to combine. There are a lot of ways to do this, but lets do it with masks.(since that is the point of the tutorial ;o) ). Now I had a basic layout in mind when I picked the pictures out, so I resized and flipped the pictures and got this

(click on picture to enlarge)
Note: I also colored the bottom layer some purply shade, exact color doesnt matter.
2)The power of masks. Add masks to both the Gabrielle and the Xena layers and select the gradiant tool. Hit D to reset your colors and selecting linear gradiant and foreground to background, I make sure that I am on the Gabrielles Mask layer and I drag a gradient across the screen. Then repeat this for Xena's mask layer.

(click on picture to enlarge)
As you can see in the picture I now have this really subtle fade out. Didn't get the gradient right the first time? Don't bother undoing. Just redo the line, you can keep doing this until you are happy, as each gradient goes over the previous one. There are a couple of hard edges so taking a very large soft brush with an opacity of 30% I run the brush just outside the edges on the mask until they are no longer visible.
 3)Its pretty nicely blended already, but I am going to take this one step farther. Selecting the Lasso Tool, I highlight the general area of the sunrise picture that I want to stand out. Since I am in no way neat, I go to Select>Modify>Smooth and smooth the selection by 20. Now select the Sunrise layer and hit the mask button. Don't be scared, its supposed to look like that. When you create a new mask with a selection active, it automatically blacks out everything that isnt selected. Now select the mask for the sunrise picture. We want it to all blend smoothly. Now look at your filter menu. You will notice that very few of them are greyed out. If they are all fine, then you are NOT on the mask layer. There are some really cool effects you can get using filters on masks, but I am doing to focus on a really basic one and select the Guasian Blur. Now what we want is for everything to blend seemlessly, so I select a really high blur of 40. Depending on the size of the picture and the shape you might have to do more or less, with preview checked, you can find a happy amount and hit ok. Now we have a really nicely blended picture of all three, with hints of the purple showing from the underlayer. That is why you wanted to have a color.
(click on picture to enlarge)
4) Looking a the picture I notice a few things. One that the bottom edge of the sunrise picture is also blurred. Usually thats fine, but here I am not thrilled with it, so taking a large brush at 100% opacity I go over the bottom edges of the mask only, so it is now solid. Now remember, since we want to show the picture and not hide it, switch your brush to white. (black hides, white reveals). Also a couple of hard edges were revealed. So taking that big brush at a low opacity again. I just go over that until they are gone. I am also not really crazy about the purple I picked, so I changed the color to a light red(ok pink, but I hate that color, so lets call it light red ;o).)

(click on picture to enlarge)
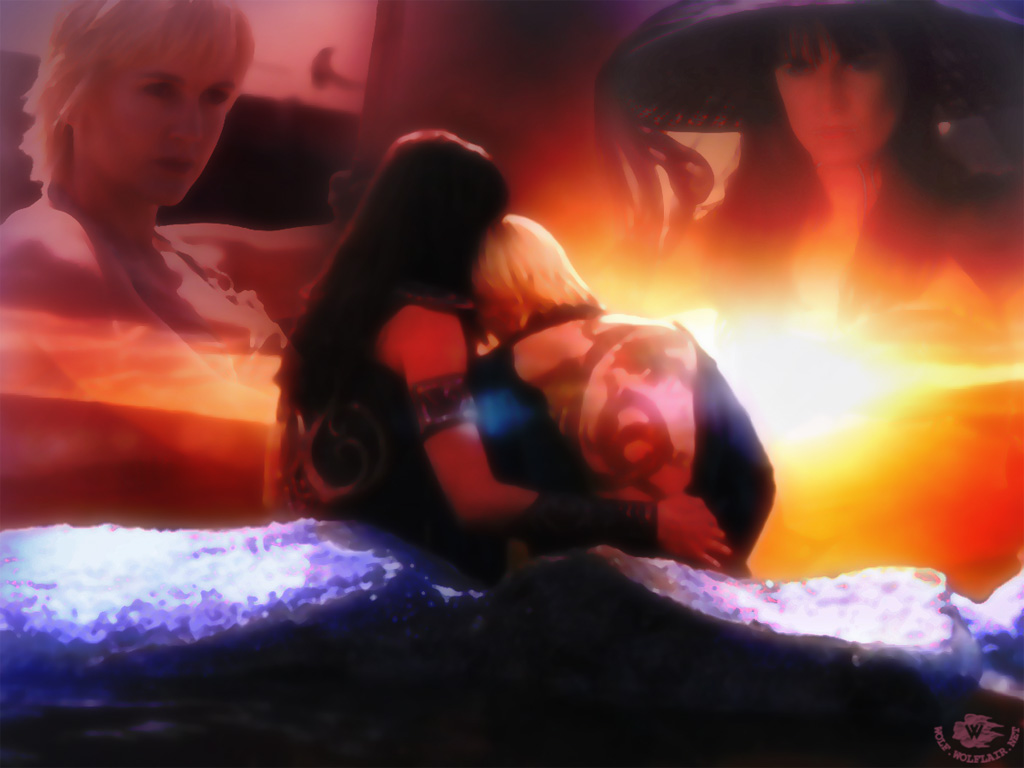
And there ya go, a nice blended image. From here your creative juices should kick in and decide what you want to do with it. You can add some texture or some filters, change the colors lower the opacity, play with blend modes and just have fun. The technical work is all done and its time to play. I decided I wanted it to be a very vibrant picture, with a very slight dreamy/paint feel to it. So I merged visible onto a new layer and played around till I was happy.
Finished Wall
Tip: Guassion blur is just one filter that produces nice results. For other cool results play around with the different filters and try combining. Want smooth edges? Ctrl+click on the picture, and hit the mask button. Do a guassion blur on the mask then go to levels and bring the three sliders together.

