


Rippling Mirror
Not a lot of pictures here, and it goes pretty fast, so I would say this is a mid to advanced tutorial.
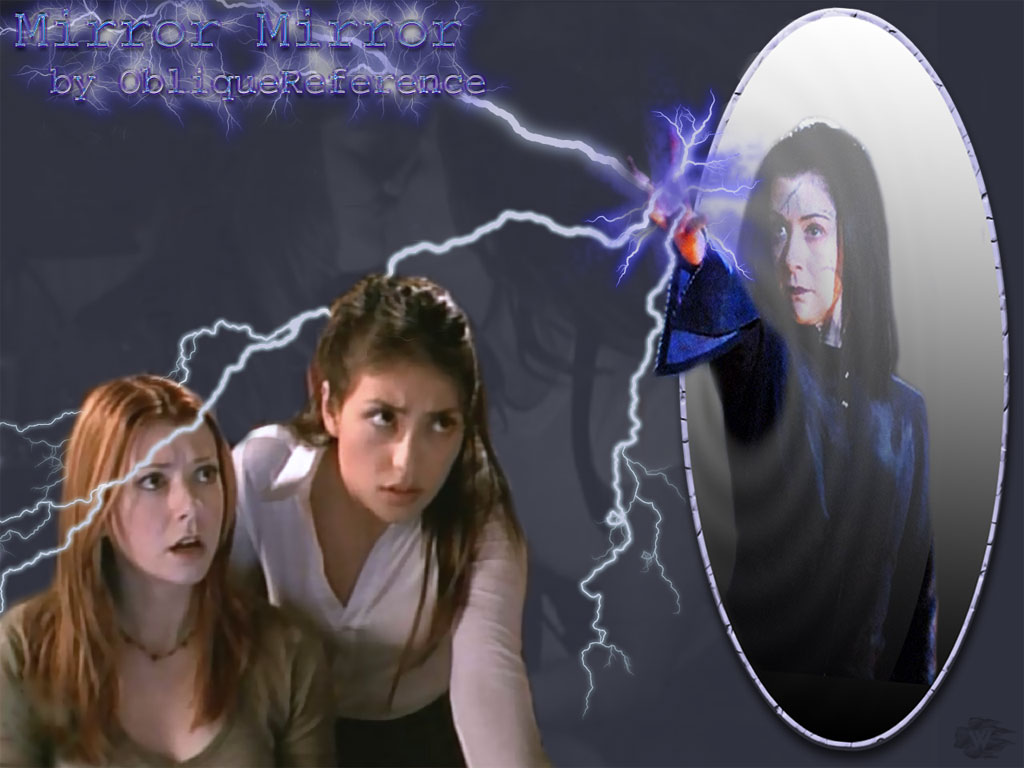
Someone asked me how I did the rippling mirror in this wall. So I wrote this tutorial for them. Hope it comes in useful for you.
1) Create the mirror on its own layer. I used the eliptical marquee tool and filled it in with a gradient of White to Black. Name the layer Mirror
2)Now, Copy the layer and name it Ripple and Control Click on the copy to select it.
3)Go to The Filter>Distort> ZigZig. Set it to 'around center'. With a pretty high amount and ridge value, Exactly what depends on your individual picture.
4) Since the zigzig put the center in the middle move the Ripple layer to the point where you want it to originate from, In this case Willow's Hand, till you are happy with the placement of the ridges
5) Control Click on the Mirror layor, select the Ripple layer and hit the mask button. Now the ridges should be just inside the mirror.
6) Select a soft brush and mask out the parts of willow that are outside the mirror, since no ripple should be on them.
7) Lower the opacity or the Ripple layer, I set it to 58%. But it depends on what you are doing
8) Select a light grey and blend any harsh edges of the ripple layer with a low opacity soft brush. Also make sure to go over any part of the rippley layer that doesnt cover the entire mirror. So it seems seemless (something I didn't do with the actual wall, but will make it look better.
*A note about the zigzig filter. 'Around Center' gives you edges that head outward, 'start from center' will give you ridges that head inward. 'Pond Ripples' is to harsh of an effect for this instance. And the amount of ripples depends on the size of the original object. Experiment till you are happy with the results.

